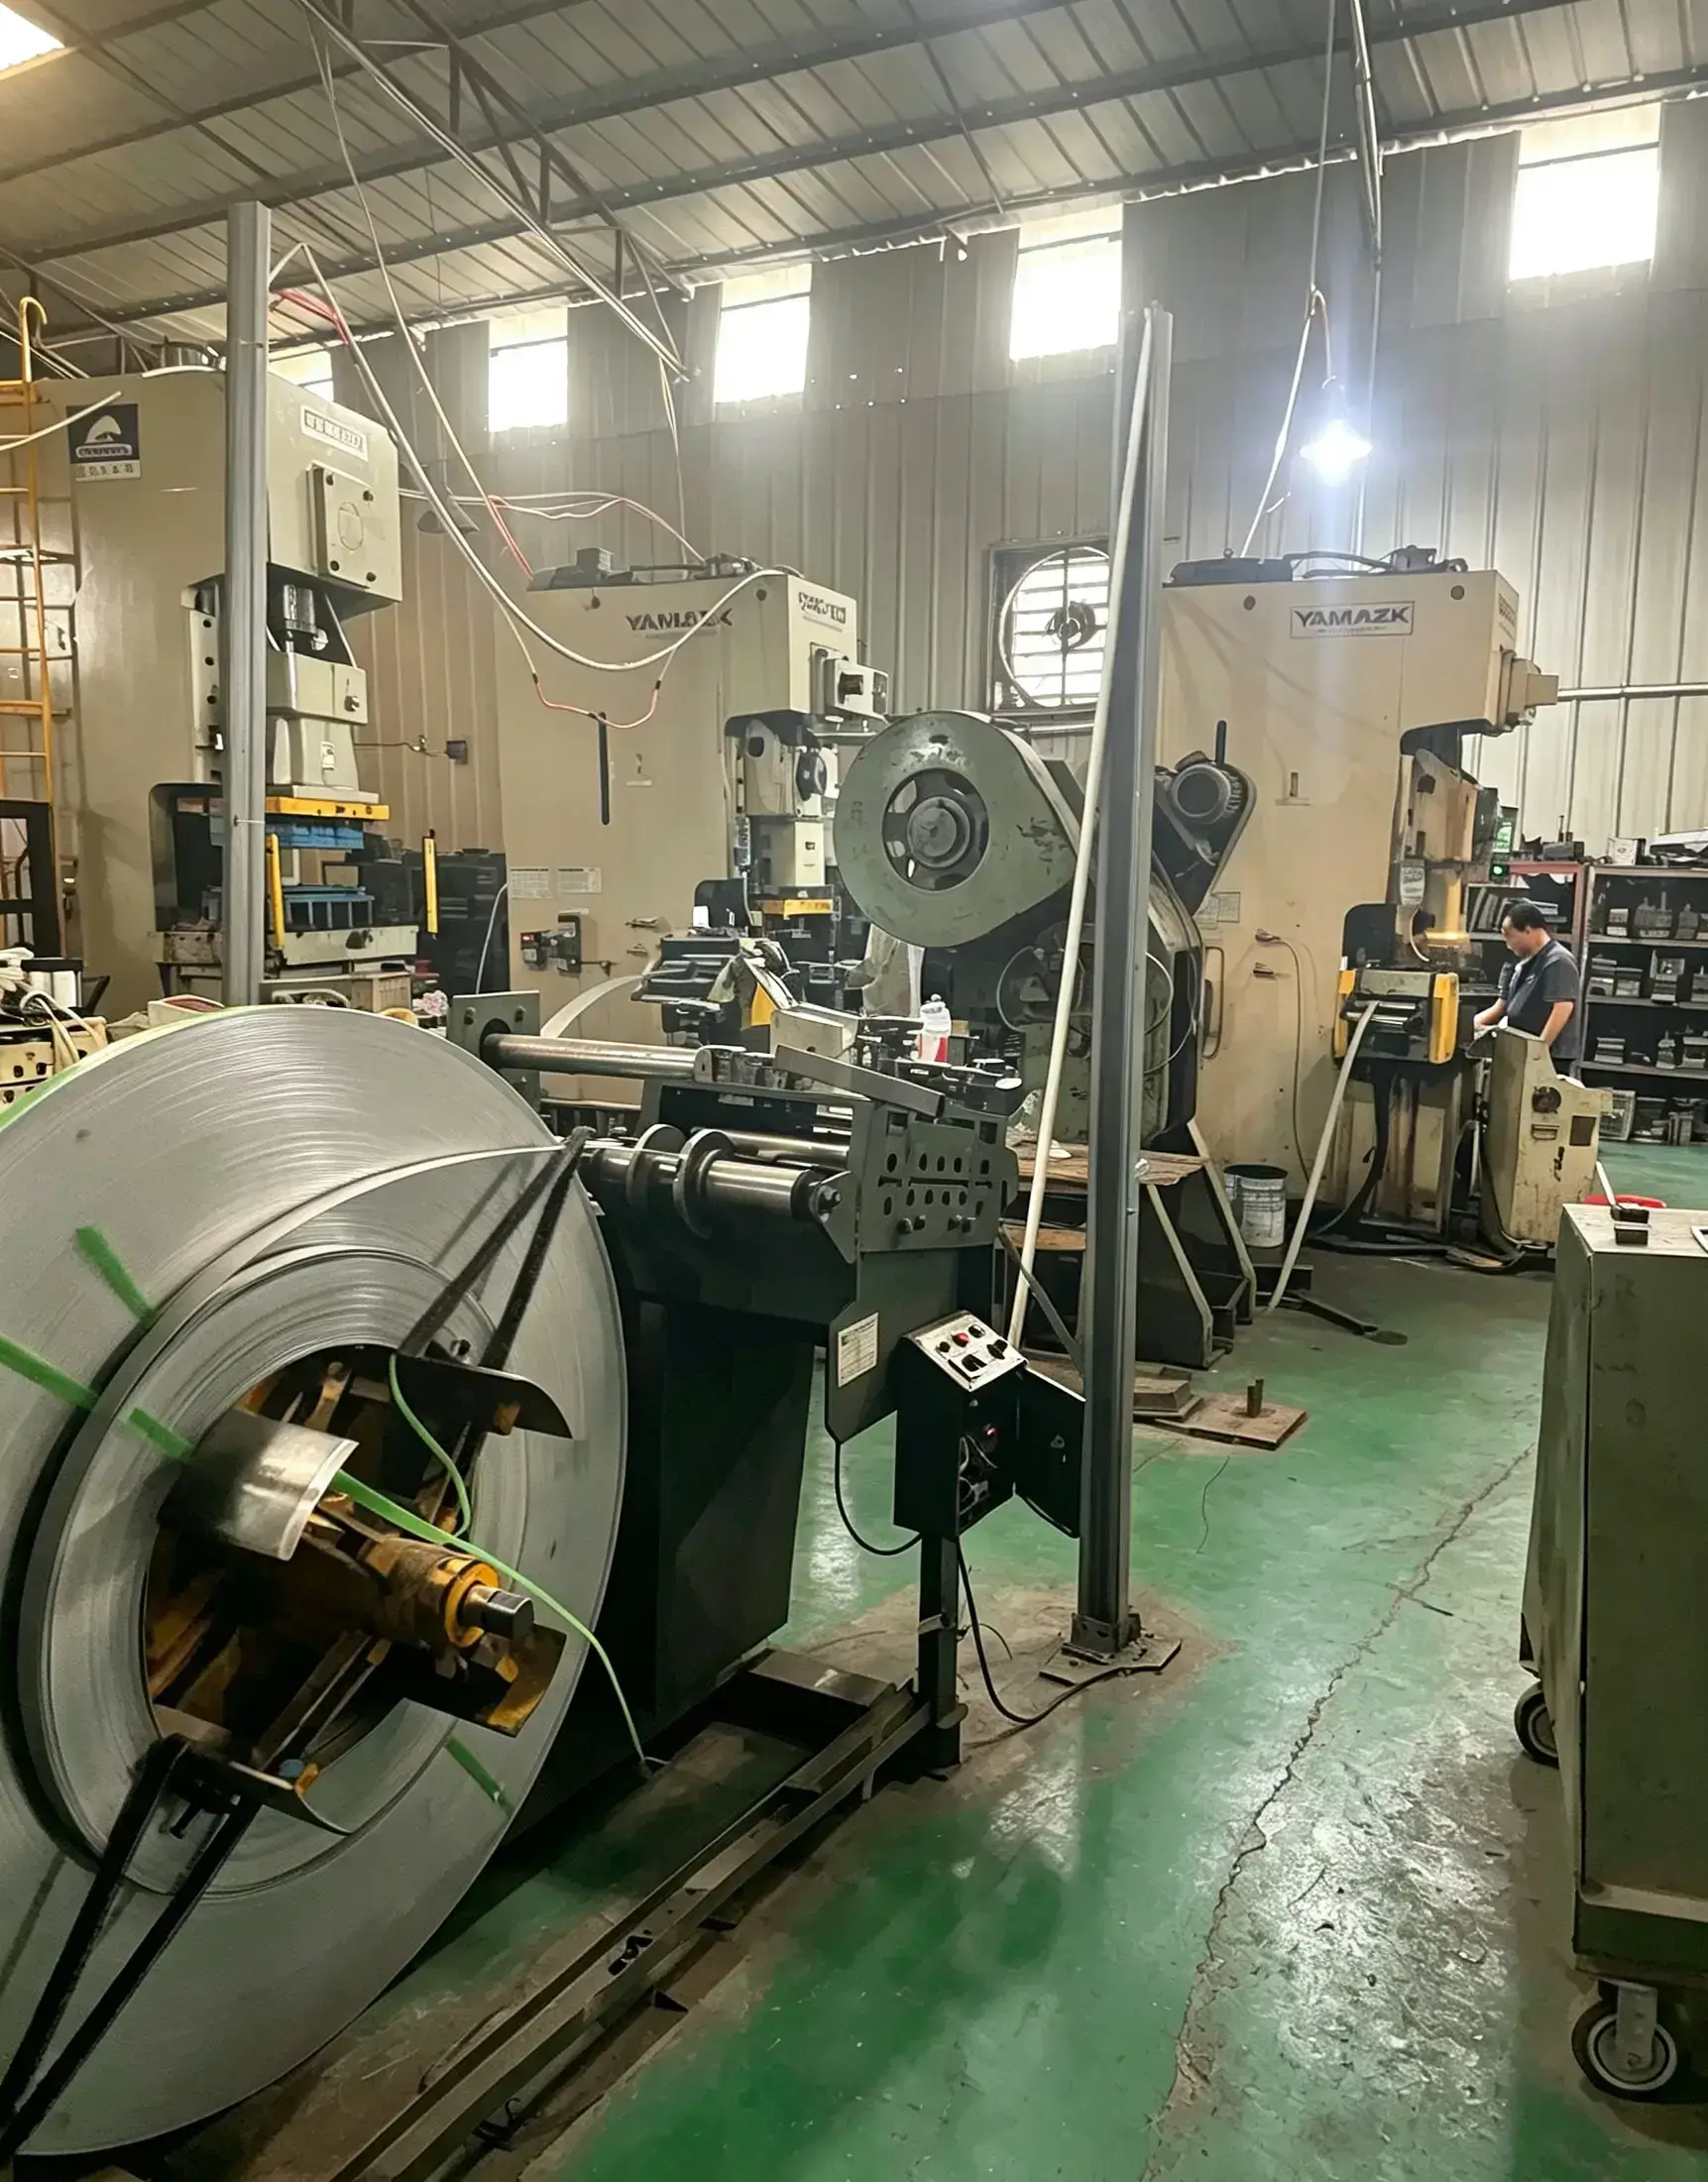
Every stamping die wears out eventually. That’s not a defect — it’s physics. What separates a reliable supplier from a risky one isn’t whether their dies wear (they all do), it’s whether the wear gets caught at part number 50 or part number 50,000.
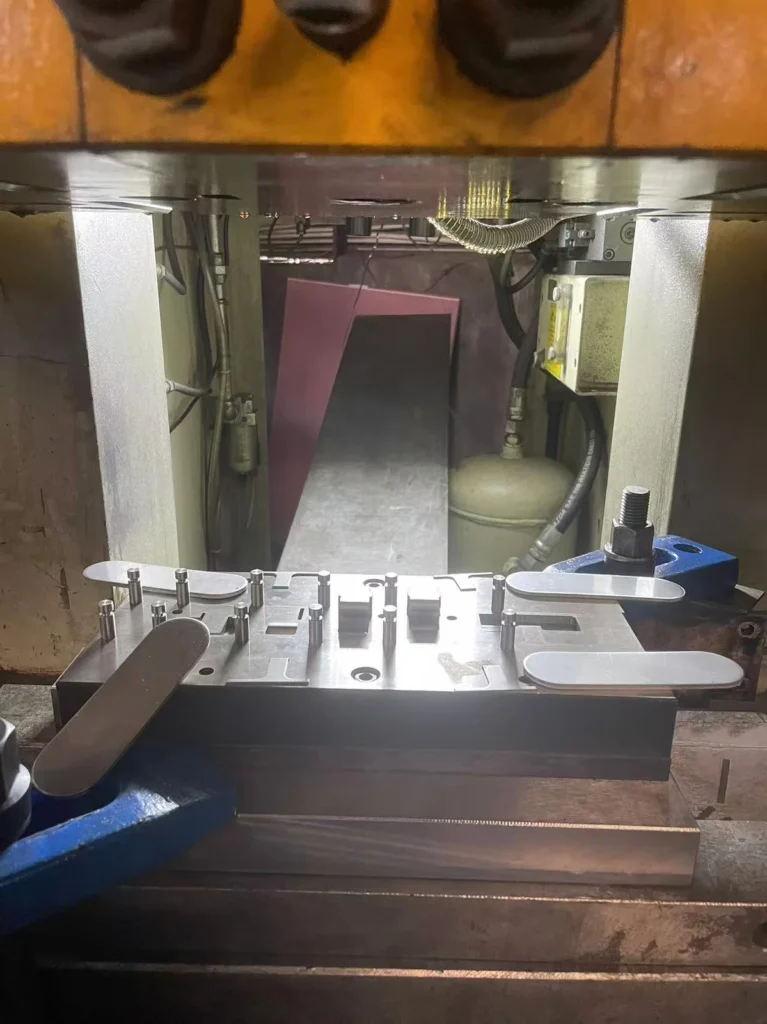
You Can’t Predict the Exact Moment a Die Will Fail
This is worth saying honestly upfront: nobody can tell you the precise stroke count at which a die will start producing bad parts. It depends on the material being stamped, the die’s complexity, the clearance it was built to, and how it’s been maintained. A simple blanking die on mild steel might run reliably for a very long time with minimal issues. A complex progressive die running stainless steel — a notoriously difficult material to machine and stamp, prone to burning drill bits and demanding better-grade cutting tools — wears differently and needs closer attention.
What Actually Happens Inside the Cut
To understand die wear, it helps to understand what a stamping die is doing to the metal in the first place. When a punch drives into material, the metal doesn’t separate instantly — it goes through a real physical process: elastic and plastic deformation first, then a crack starts at the edge, that crack propagates through the material, and finally the last connected sliver fractures and gets extruded outward. That leftover sliver is the burr.
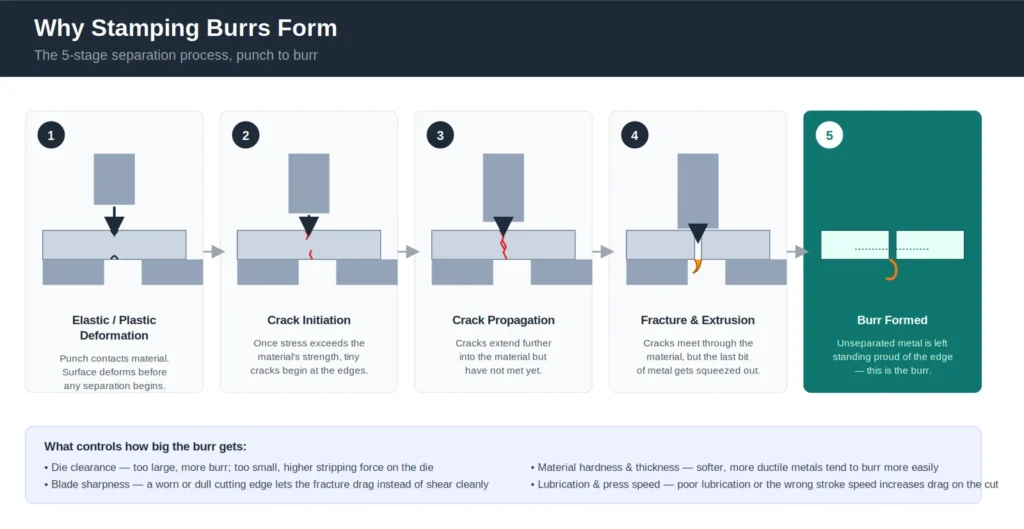
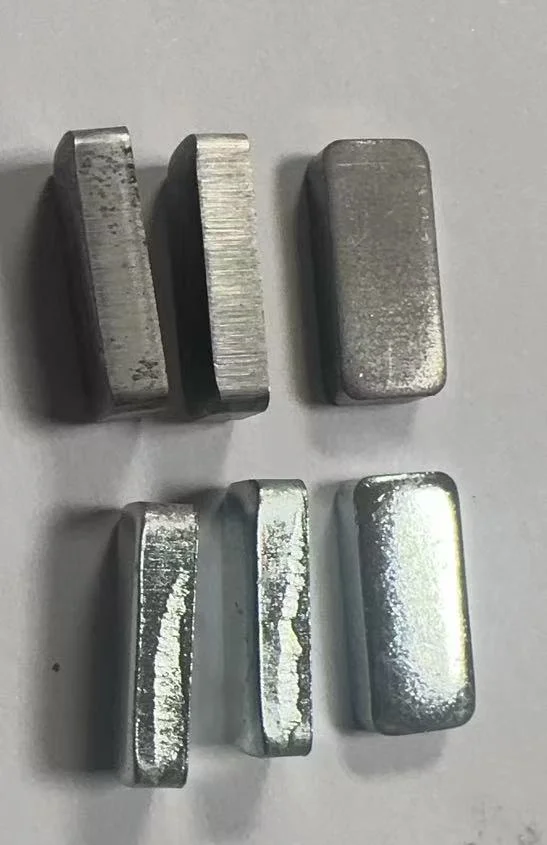
The size of that burr — and how it changes over the life of a die — comes down to a few real factors:
Die clearance. Too much clearance between the punch and die, and the fracture zone grows, producing a larger burr. Too little clearance, and stripping force goes up, putting more load and wear on the die itself.
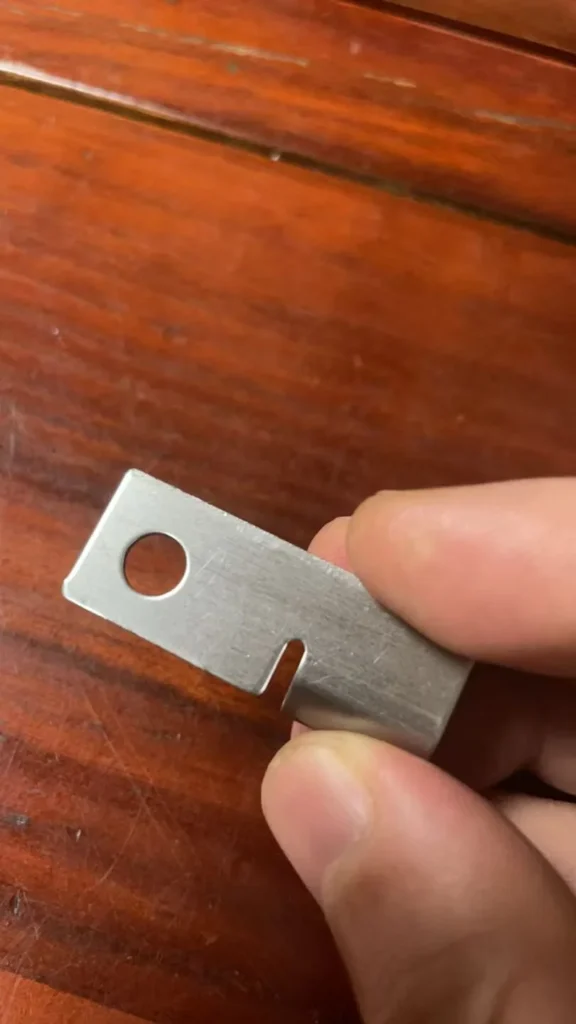
Blade sharpness. A fresh, sharp cutting edge shears cleanly. As it wears, the edge dulls, and instead of a clean shear, the material drags and tears — which is exactly why burr size creeping up over time is one of the earliest warning signs of die wear.
Material hardness and thickness. Harder, thicker materials put more stress on a die per stroke than soft, thin ones. As a rule of thumb, punched hole diameters need to stay above roughly 1.5x the material thickness — go smaller than that and you risk snapping the punch itself, not just wearing it down gradually.
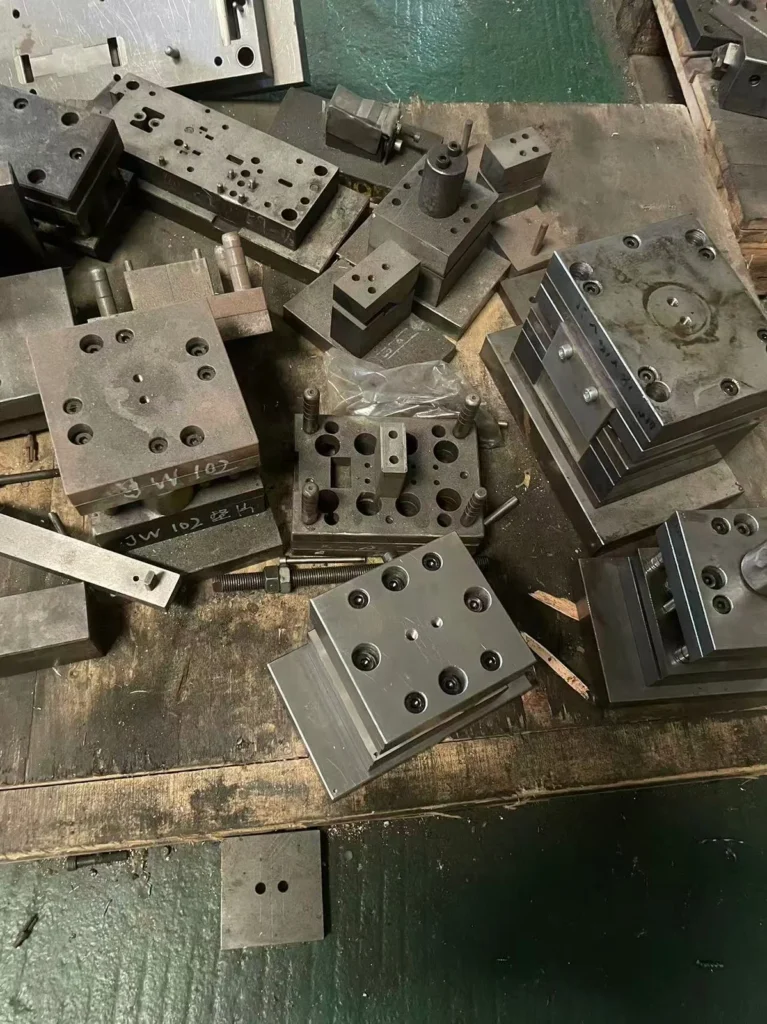
How We Actually Catch Wear Before It Becomes a Bad Batch
| Symptom on the Part | Likely Cause | What Gets Checked |
|---|---|---|
| Burr size increasing | Blade edge dulling, clearance drifting | Cutting edge sharpness, punch-to-die clearance |
| Dimensions drifting out of tolerance | Die wear, guide pin wear | Guide pins, die component wear points |
| Part won’t release / jams in die | Stripping force issue, damaged component | Immediate stop — full disassembly and diagnosis |
| Surface scratches or drag marks | Poor lubrication, debris on die surface | Lubrication system, die surface cleanliness |
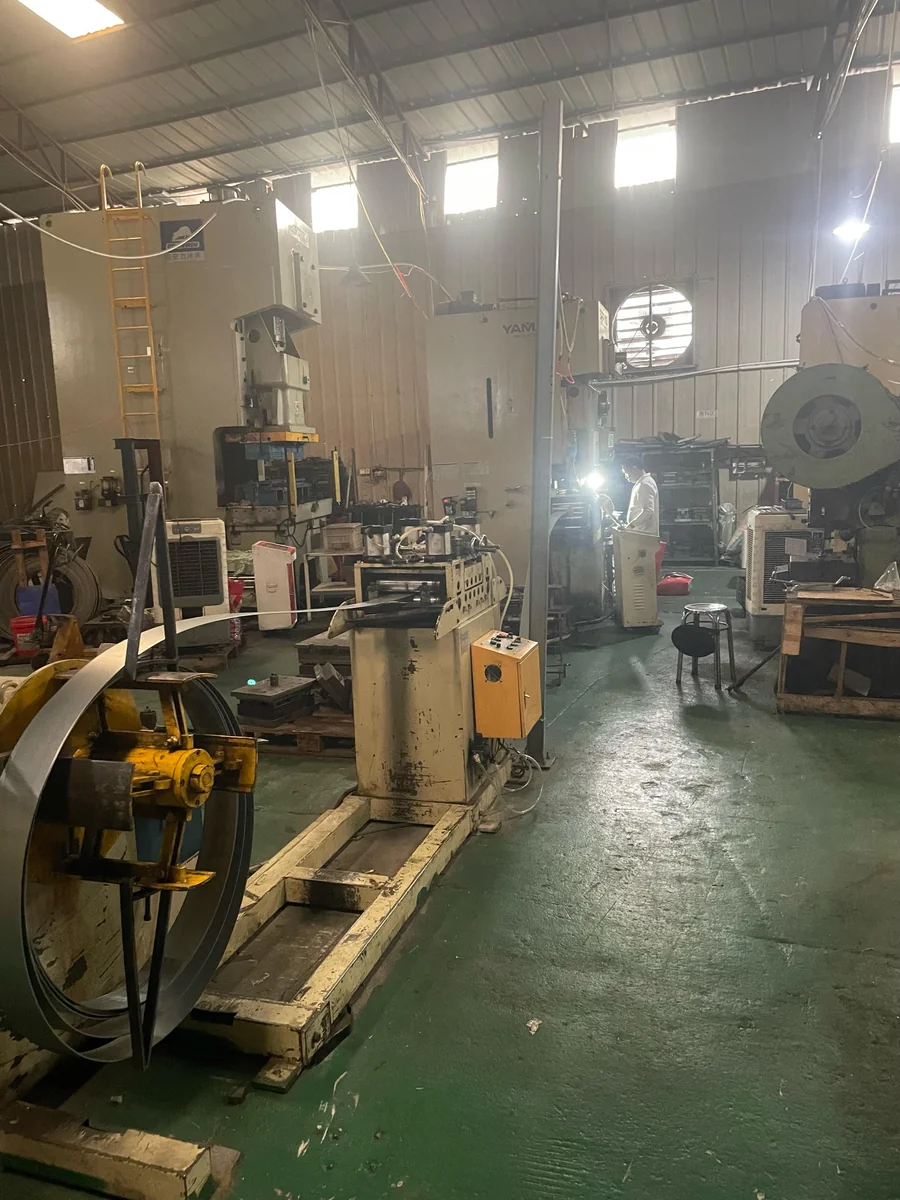
Here’s the part most suppliers won’t tell you in this much detail, because most don’t do it this way. On a progressive die running continuous production, a worker is stationed at the press for the entire run — not checking in periodically, but watching it continuously. If a stamped part fails to release cleanly from the die and gets caught, production stops immediately.
At that point, it becomes a diagnostic job, not a guessing game. Our tooling technician inspects the die to identify exactly what’s wrong, then disassembles and repairs the specific component causing the issue — rather than replacing the whole die or, worse, running it as-is and hoping the problem doesn’t repeat.
This matters more than it sounds. A die that jams and gets caught immediately means the defect stops at one part. A die that’s left running without anyone watching means the defect can run for the rest of the shift before anyone notices — and that’s how a supplier ends up shipping a bad batch.
Why This Matters for Your Order
If you’re placing a high-volume order and expecting consistent quality across 50,000 or 500,000 pieces, ask your supplier this question directly: what happens on the shop floor when a die starts to wear mid-run? A vague answer (“we have quality control”) tells you less than a specific one. Ours is specific: someone is watching the press, production stops the moment a part won’t release, and a technician diagnoses the actual cause before the run continues.